Tutorial - Go From Easy Neutral Eye to Kicked up Neutral Eye to Subtle Evening Eye to Dramatic Smoky Eye
This tutorial is designed to show you step-by-step how to create a simple, neutral daytime makeup look to a revved up office look to a subtle evening eye to a more dramatic smoky eye–all with the same basic look. This is a great tutorial for those who go out right after work and can only modify their existing makeup.

You will need: Soft Ochre paint pot (creamy neutral beige base), Blanc Type eyeshadow (off-white matte), Brun eyeshadow (cool red-brown matte), Bisque eyeshadow (soft taupe, mate), Soft Brown eyeshadow (medium warm brown, matte), Silver Ring eyeshadow (frosty silver), Carbon eyeshadow (matte black), Vex eyeshadow (duochrome silver-purple), Feline kohl power (black kohl liner), Plushblack mascara (black mascara), True Romantic beauty powder blush (berry pink), Tenderdusk beauty powder (light berry pink shimemr), Sweetie lipstick (medium pink), and Dreamy lipglass (soft pink).
Brushes: 219, 239, 249 [Note, I’m using a different brush than the 239, but it works exactly the same–it’s an old discontinued Benefit brush; my 239 was dirty!]
Get the step-by-step instructions with photos…
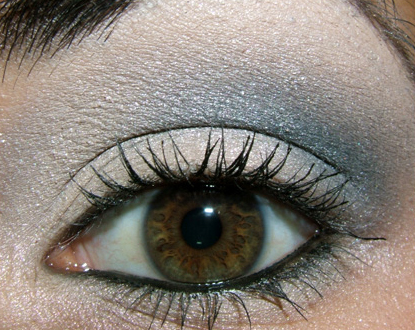
“The Ultimate Daytime Office Makeup”
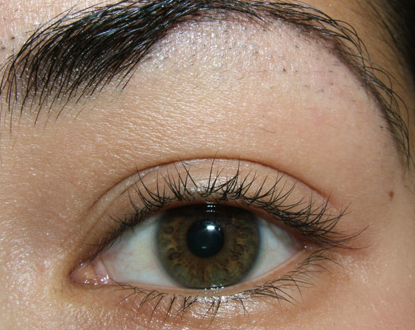
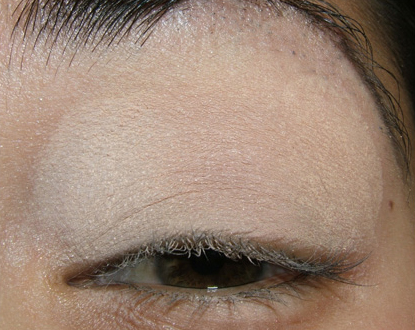
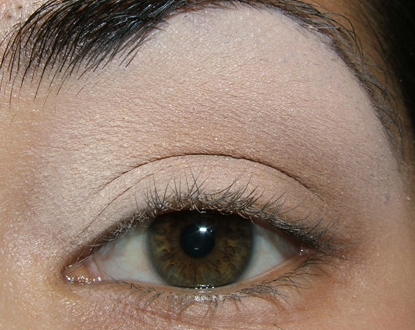
1. Start with a clean eye-space; if you fill-in your brows, you’re welcome to do them now [or later].
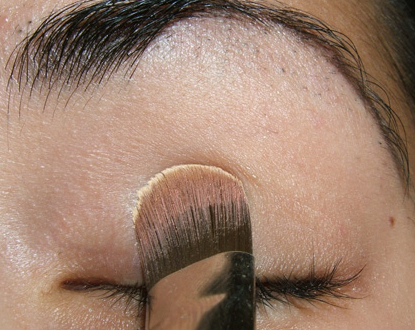
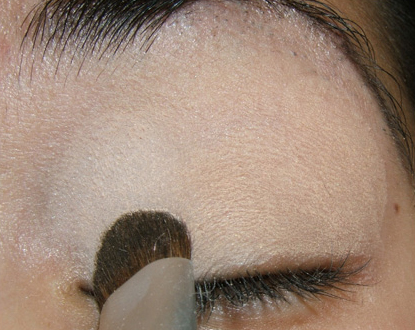
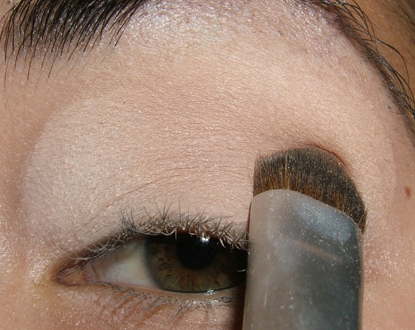
2. Use the 249 and take several swipes of Soft Ochre paint pot and begin to apply it to the lid.
3. Pull it outwards to be able to cover your entire lid area.

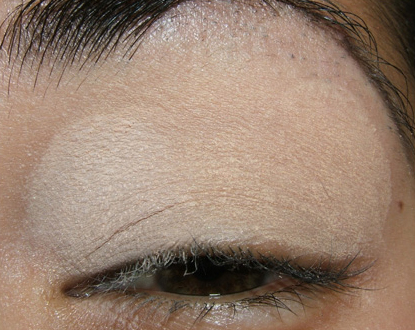
4. This is what it should look like.
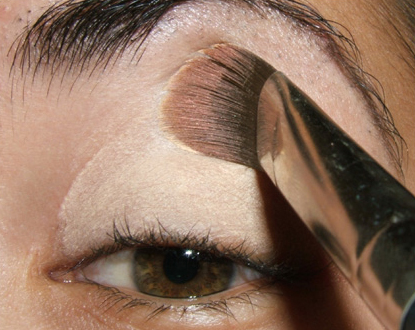
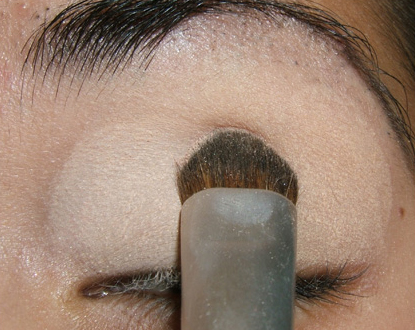
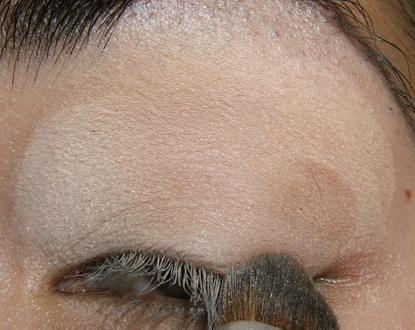
5. With the 239 brush, pick up a generous amount of Blanc Type eyeshadow and apply to the inner lid.
6. Make sure to cover the entire portion of the inner portion of the lid.
7. This is what it should look like. If you are darker in skintone, you may want to modify the colors by deepening them by 2-3 shades so they don’t appear chalky on you! The concept of this look is that the colors are similar to your natural skin tone, but a bit lighter.
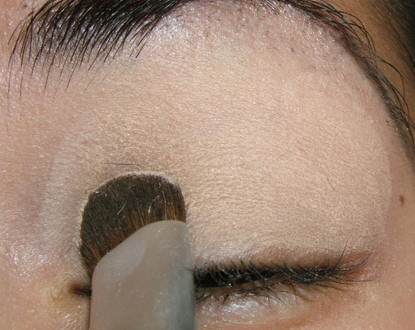
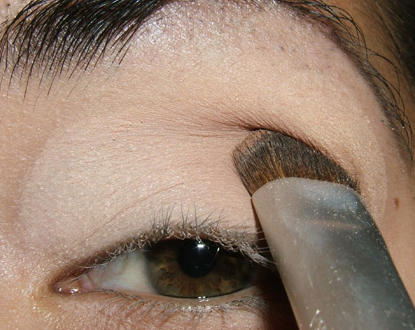
8. Still using the 239 brush, pick up Bisque eyeshadow and apply to the middle of lid, starting just above the crease and pulling the brush downwards.
9. Pull the color downwards to evenly color the entire middle portion of the lid.
10. This is what it looks like.
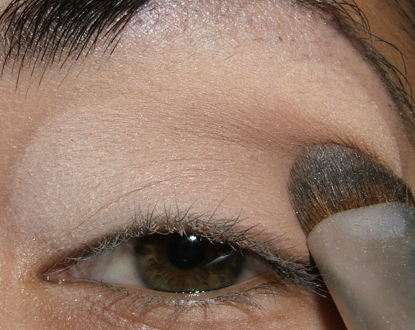
11. Apply Soft Brown eyeshadow using the 239 brush to the outer third of the lid.
12. Pull the brush downwards to cover the entire outer third.
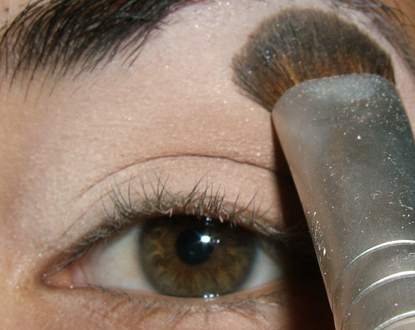
13. Pick up more Soft Brown eyeshadow and apply it to the outer crease to darken and define it.
14. Gently pull the brush outwards so help blend Soft Brown into your crease.
15. This is what you should have.
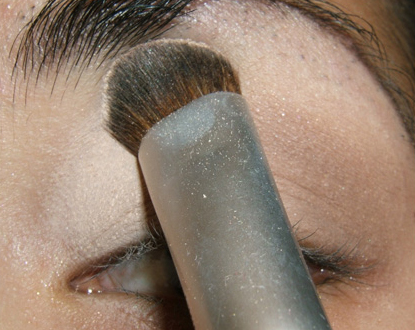
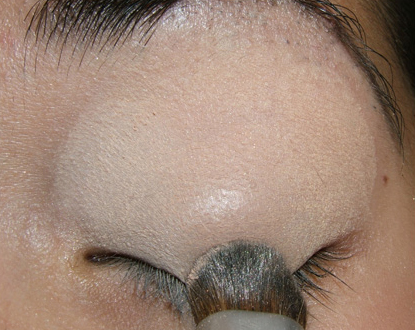
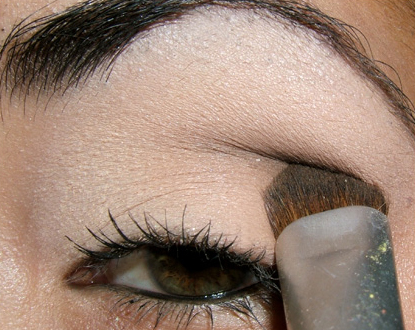
16. With your 239 brush, apply Blanc Type eyeshadow on your browbone–or choose another matte highlighter color.
17. Smooth it over the entire brow bone.
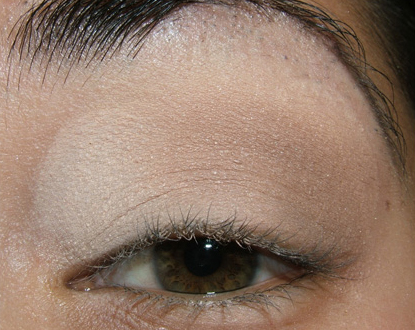
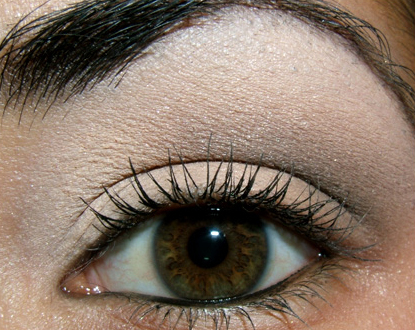
18. This is what it looks like right now.
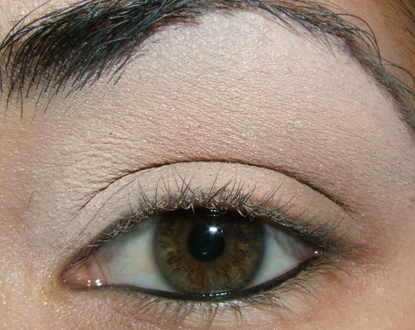
19. Lightly line your lower lash line (or water line as shown) with black eyeliner (I used Feline kohl power).
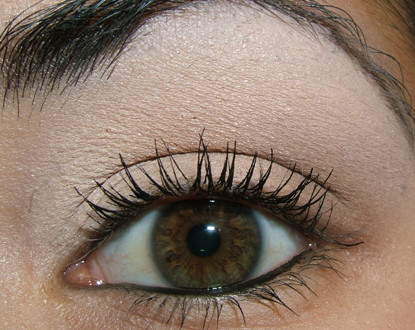
20. Apply black or brown mascara (brown for a more neutral look) to upper and lower lashes. I used Plushblack plushlash mascara here. This is your finished eye.
To view more photos of this first part of the look, go here.
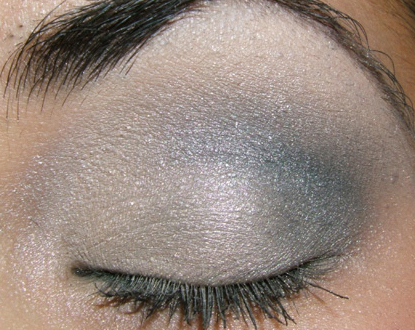
“Easy Daytime, Office, Work Approved Makeup with a Kick”

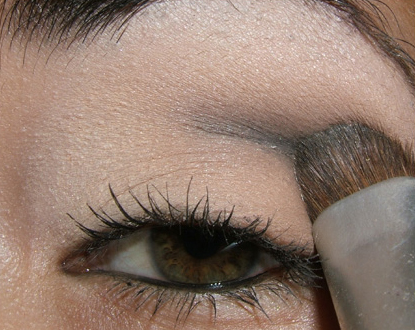
21. With your 239 brush, apply Brun eyeshadow into the outer crease.
22. Pull your brush outwards, holding it horizontally, to blend the color into the crease.
23. This is what you have–and that’s all there is to it! Brun is a darker brown with some gray in it, so it lends more contrast to the look.
Check out the full set of photos for this look here.
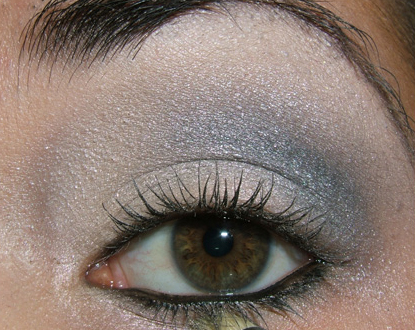
“Subtle Smoky Eye for the Evening Out”
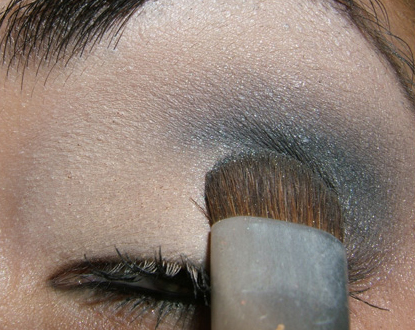
24. With the 239 brush, apply Carbon eyeshadow to the outer crease to darken it.
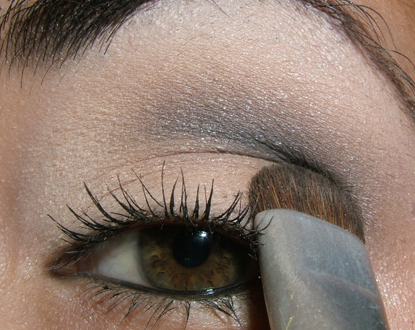
25. Brush it outwards to help blend the colors together.

26. Make sure you to darken the outer lid.
27. This is what it looks like at this point.
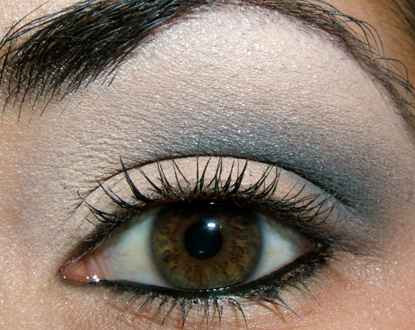
28. Add heavier black liner and go over lashes with a quick fix of mascara (be easy, and just do one coat to darken it from applying additional shadows over it).
See the full set of photos for this look here.
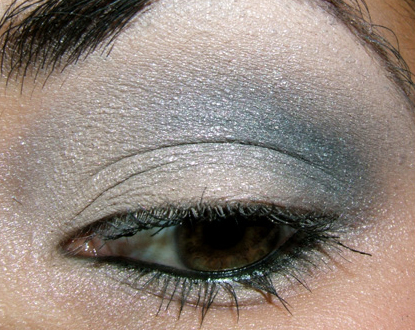
“Deeper Smoky Eye for Evening Out”
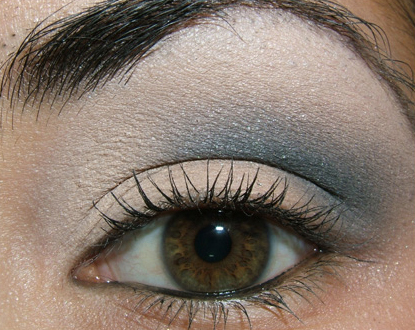
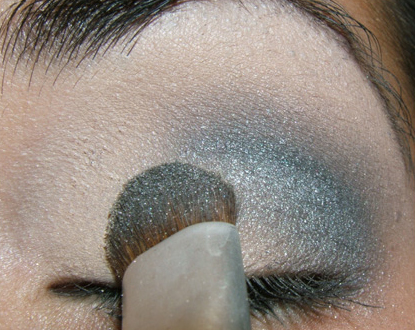
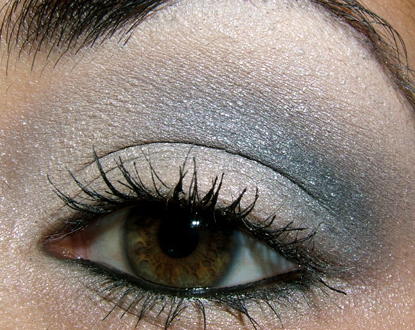
29. Apply Silver Ring eyeshadow to the outer half of the lid.
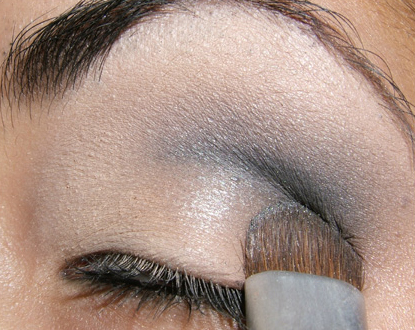
30. Blend it outwards.
31. This is what it looks like here.
32. Apply Vex eyeshadow to the inner half of the lid.
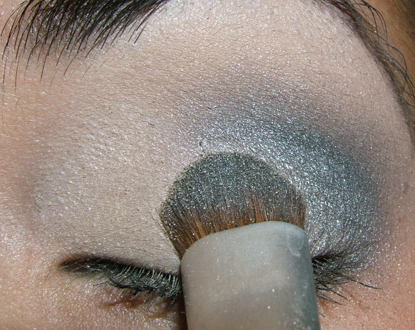
33. Brush outwards to blend into the Silver Ring eyeshadow.
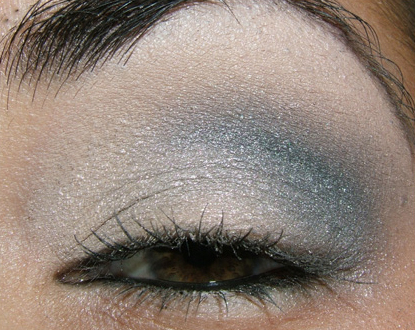
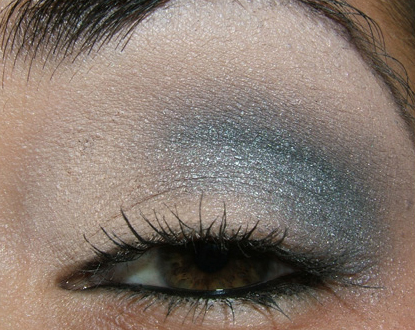
34. This is what it looks like here.
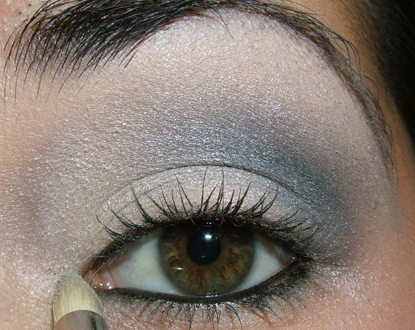
35. Apply Vex eyeshadow to the lower lash line using the 219 brush.
36. Keep the brush directly under your water line.
37. This is what it looks like when finished. You can re-do mascara if you choose to (but since I’ve already gone back for the subtle look, any more mascara coats would be bad!!) as well as go over the lower lash line. Add black liner to your upper lash line for a more dramatic look, too!

love this look! soo perfect i can use this since im going to a wedding next week!!!
Thanks, Tatiana! I’m glad it’ll work for your occasion!
Oh this is so gorgeous!!!
Thanks, Erin 🙂 Glad you liked!
beautiful look 🙂
Thanks, Victoria! 🙂
What I really love about this tutorial is at step 27 you can see how adding a good crease just makes your eyes pop.
lol, that’s true, you can really see the difference of what adding one more color can do.
Thank you for that! Really helpful!
My pleasure, Nell! Happy to help.
Whoa! As always, great tutorial! I don’t have matte eye shadows and really looking at your creation made me mentally do a total balance of my Visa.
Thanks, Pia! LOL! I don’t do a lot of all matte looks, but they can be really nice.
Beautiful look! Thanks for the tutorial, it’s very helpful
Thanks, Gio! My pleasure!
What a great tutorial! Since I work Monday-Friday, this will be a great guide for days when I have something to go to directly after work & don’t have time to redo my whole face!
Thanks, Ariele! Definitely. It’s good to be able to add a quick something to take a look up to the next notch for after-work.
so sexy. carbon looks like an off dark blue when you applied it over brun, cool.
Hey Beda!
Yep, sometimes you can get some funky color changes!
This is very nice, you could probably do this with a lot of browns right? Go from a light to a medium to a dark? However this really focuses in on your eyes. Very pretty!! 🙂
Thanks, Faiza! Yep, technically you could do it with ANY colors 🙂
beautiful! My favourite!
Thank you for your time to do this for us, you are so talented!
Thanks so much, Calico! Happy to do it!